
Starter kits for large decorations
Starter kits for large decorations – your first big casting, stress-free and safe
The complete equipment for larger castings and boards. Choose a kit according to the scope of your project and master your first large creation cleanly, clearly and without unnecessary bubbles – from preparing the base to the basic surface finish.
- Larger silicone moulds / frames for boards and trays
- Measuring cups and beakers with a higher volume, stirrers, pipettes
- Non-stick mat, basic protective equipment, anti-bubble tips
Kit contents vary – please refer to the description for each specific option (mould dimensions, recommended volume, accessories).


Product sorting
2 items total
List of products
Listing controls
2 items total
How to Choose a Starter Kit for Large Castings
- Size and thickness of the board: check the internal dimensions of the mould and the recommended casting height in the description.
- Resin volume: for larger projects, work with an accurate estimate of the volume (you'll save material and avoid overheating).
- Layering: for a clean and safe result, it is advisable to pour in layers according to the recommendations for the resin used.
- Extra tools: cups with markings, wider stirrers and a non-stick mat are useful for clean work.
- Final finish: some kits also include the basics for sanding and polishing edges and surfaces.
Need to calculate the volume of resin?
For a quick estimate, use our Resin Consumption Calculator.
For a quick estimate, use our Resin Consumption Calculator.
Quick guide for the first large board
- Prepare a flat work surface and mould/frame; check with a spirit level.
- Accurately measure and slowly mix the resin (scrape the walls and bottom of the cup).
- Pour in the recommended layer thickness (this will reduce bubbles and unwanted heating).
- Release bubbles carefully (skewer, light blow of warm air from an increased distance).
- Cover to protect from dust and allow to harden according to the instructions; clean any edges after hardening.
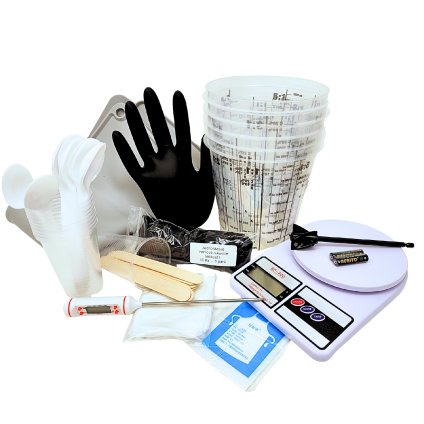
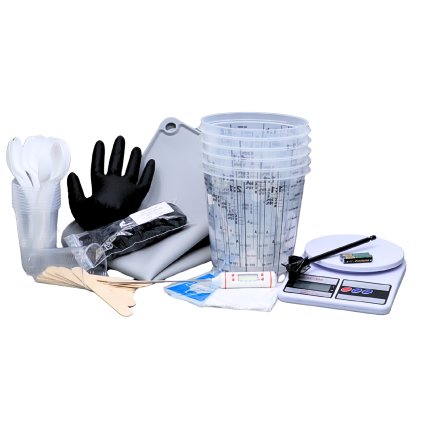
What the set usually contains
A combination of larger moulds / frames for boards and trays, measuring cups and beakers with a higher volume, stirrers, pipettes and protective equipment. Some kits also include a non-stick mat and tools for a basic finish (edge cleaning).
Tips for a clean and safe result
- Pour large volumes in layers according to the resin's recommendations – this will reduce the risk of overheating and clouding.
- Work in a dry and dust-free environment; cover the project after pouring to protect it from dust.
- Prepare everything you need in advance – you'll save time and material.
Frequently Asked Questions
How thick a layer can I pour at once?
It depends on the specific resin – always follow the recommended maximum thickness on the packaging/instructions. It is advisable to pour larger projects in layers.How to prevent bubbles on large surfaces?
Stir slowly, pour in a thin stream and let the mixture stand briefly. Gentle warming with air from an increased distance can also help release bubbles.What if I run out of a tool?
All items from the sets can be purchased separately - you can easily replenish exactly what you need.Note: The actual content and number of parts vary depending on the set - always follow the description of the selected variant.