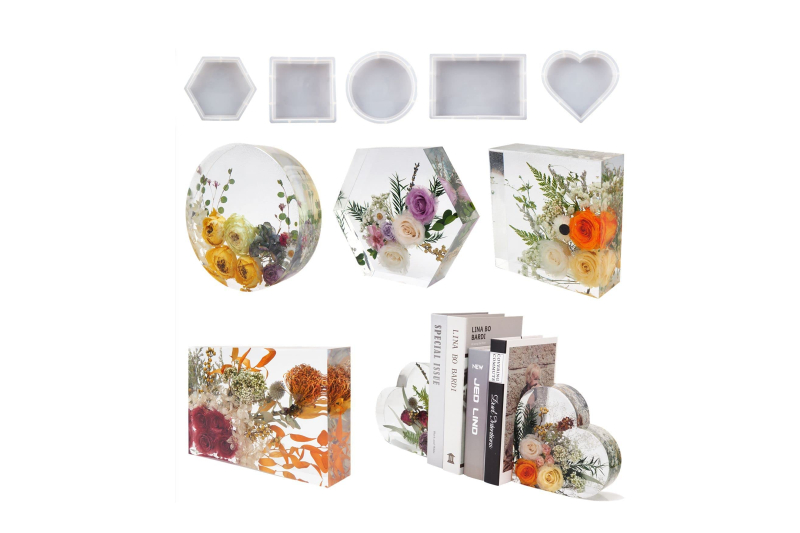
Resin molds
-
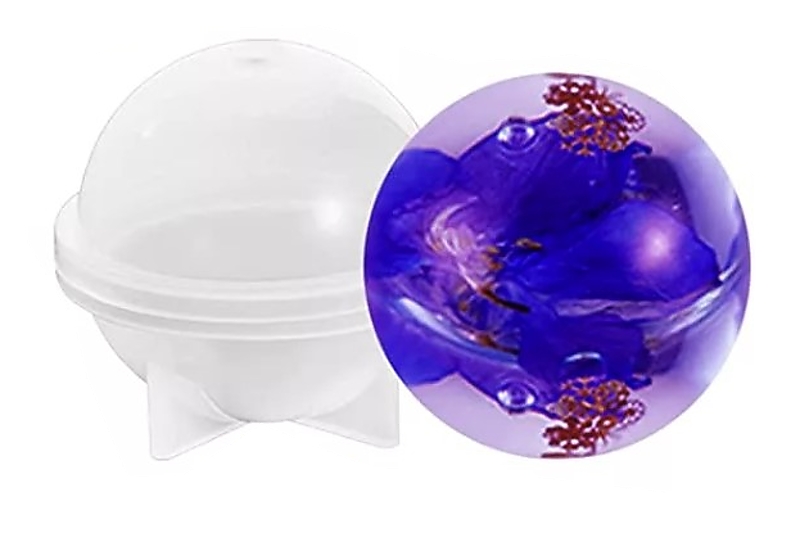
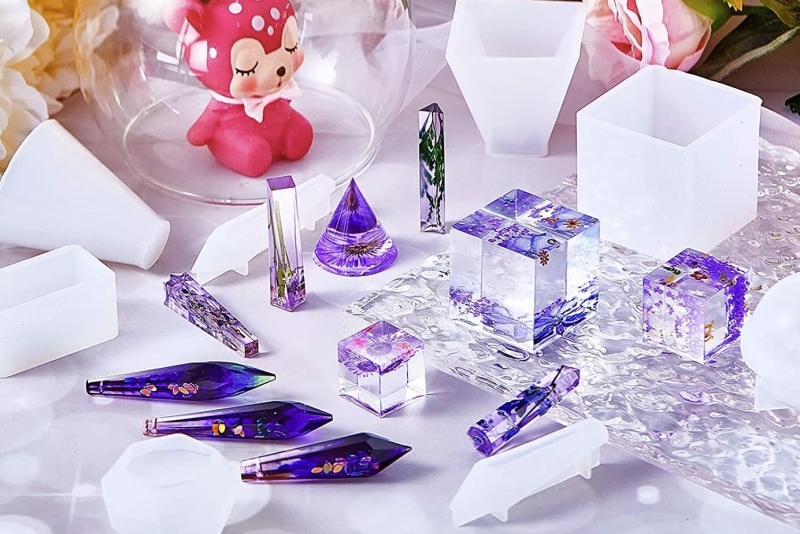
 Silicone Moulds for 3D Shapes
-
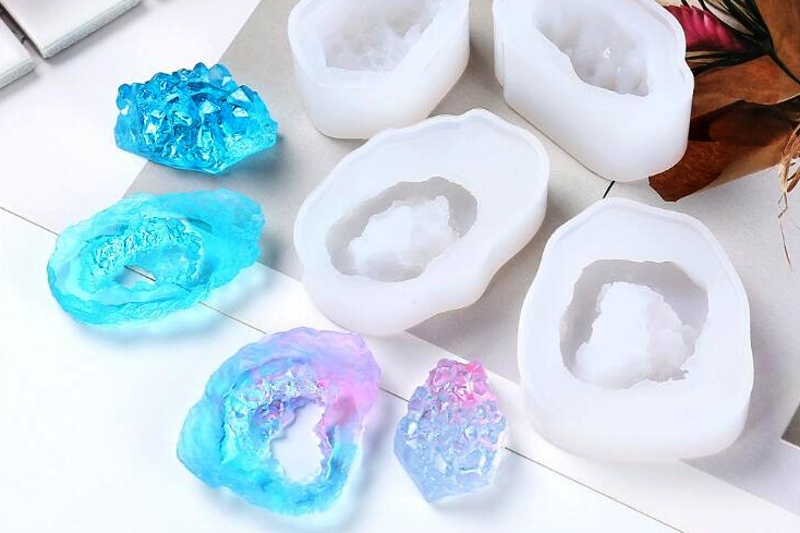
Small silicone moulds for decorations
-
Large Silicone Molds for Decorations
-
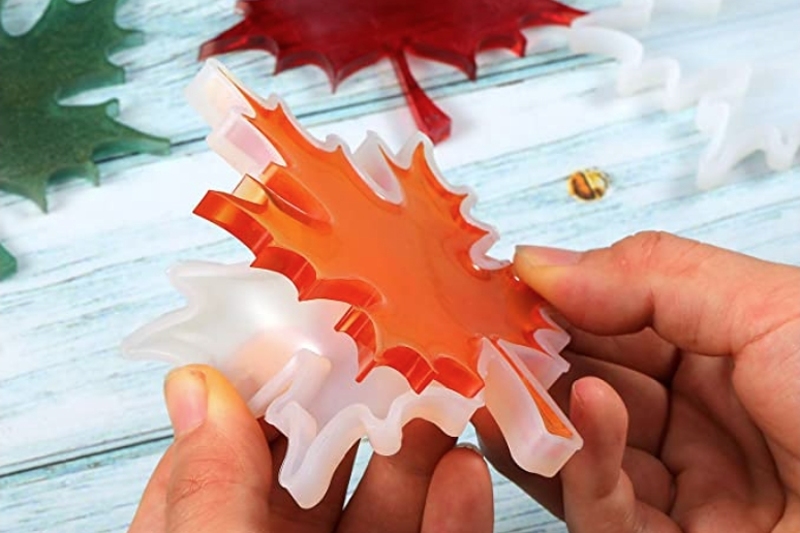
Silicone Moulds for Children's Designs
-
Silicone molds for shelves
-
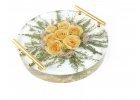
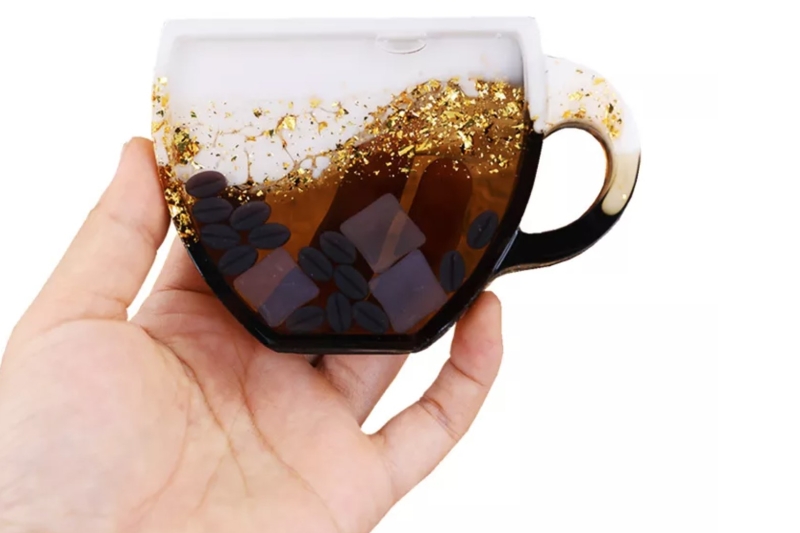
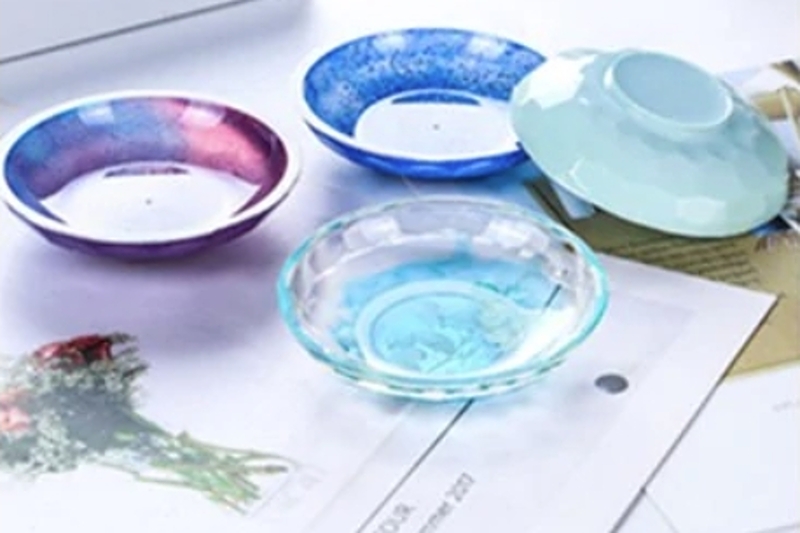
Silicone Moulds for Bowls and Containers
-
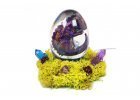
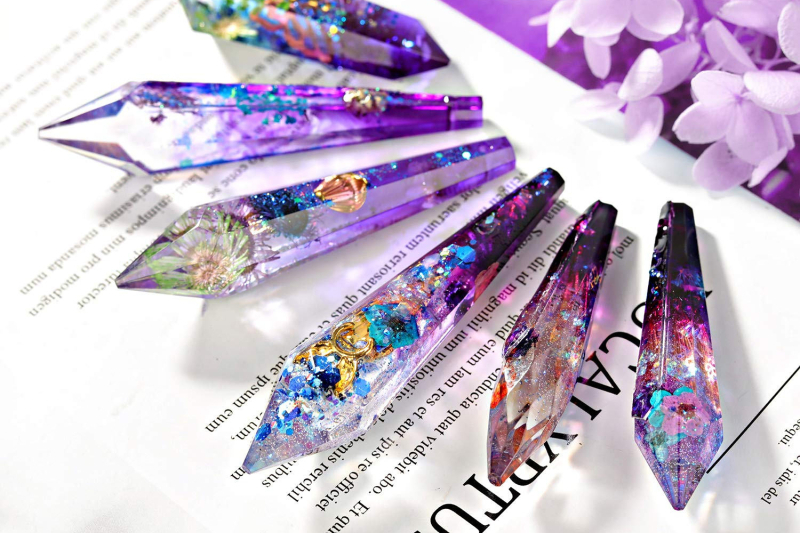
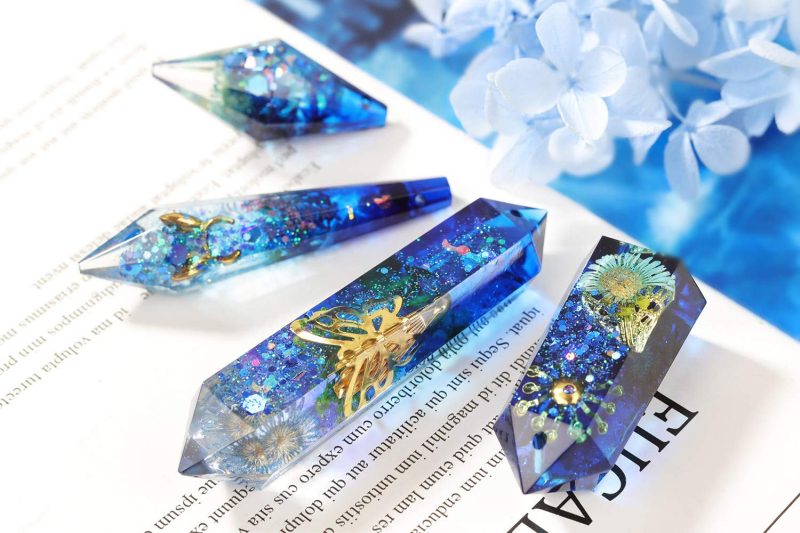
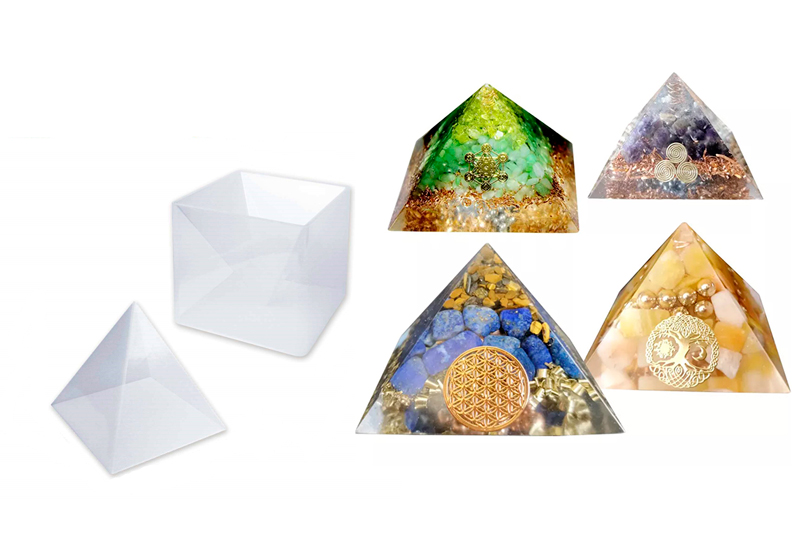
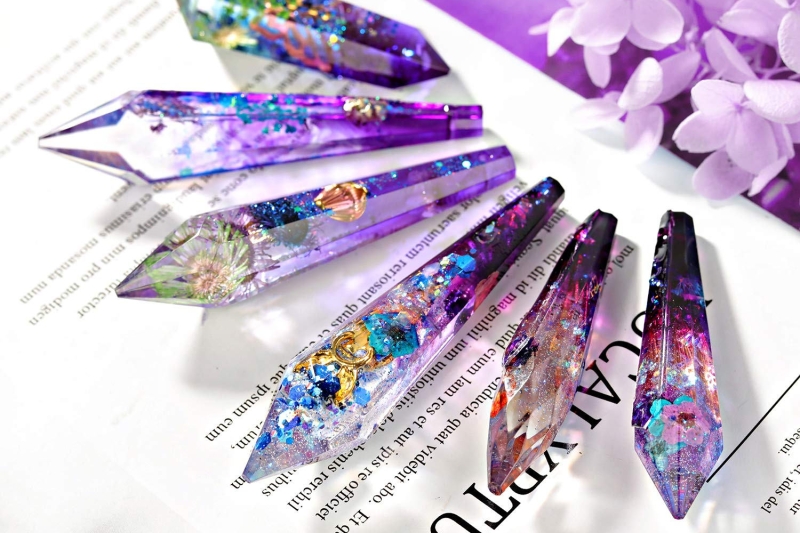
Silicone mold for orgonites
-
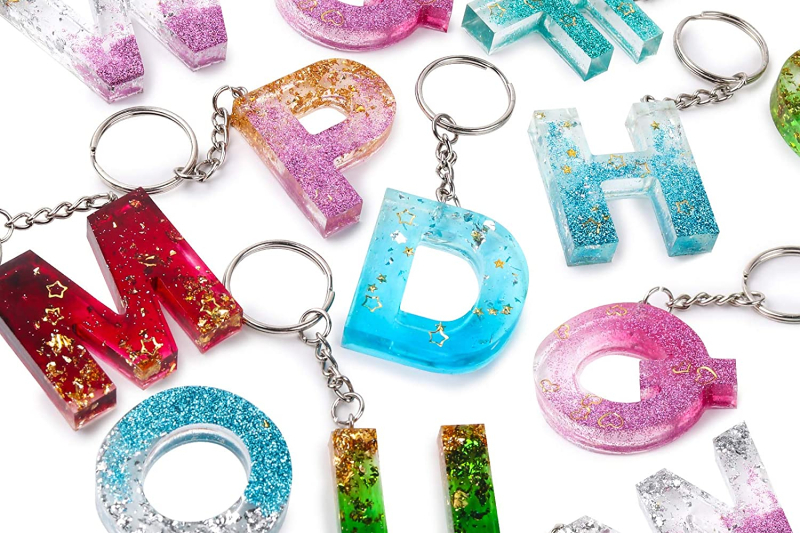
Silicone Letter and Number Moulds
-
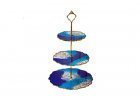
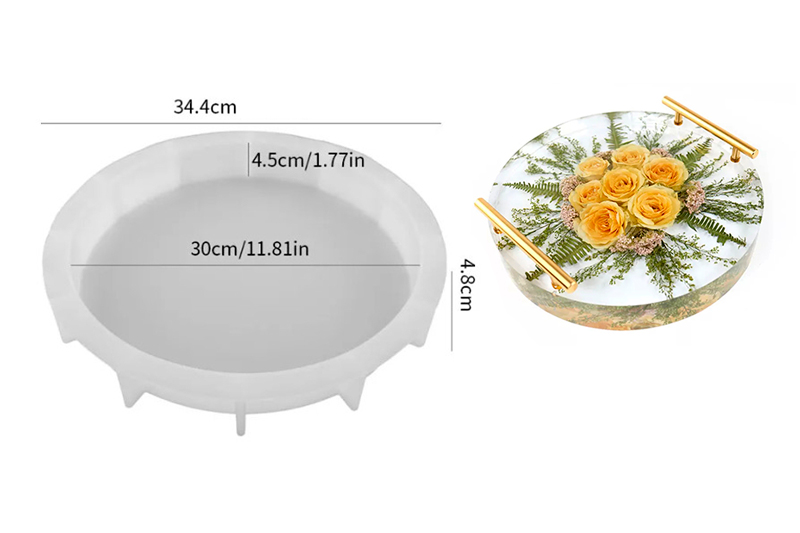
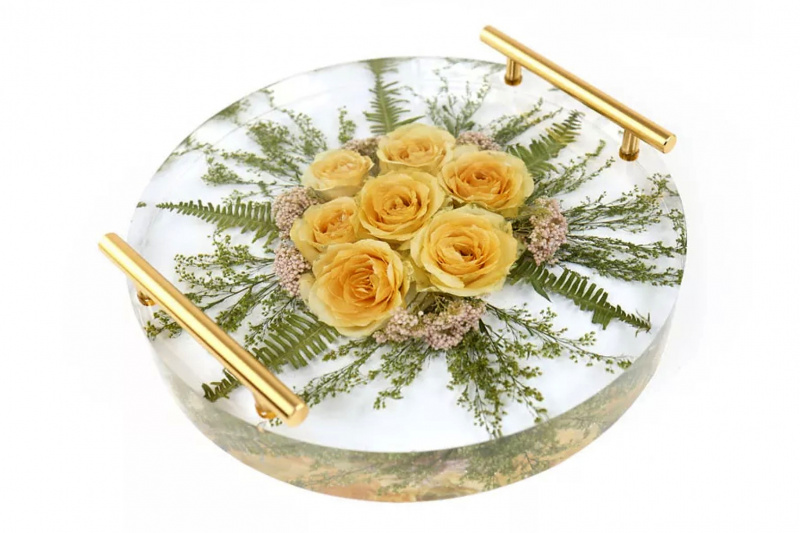
Silicone tray molds
-
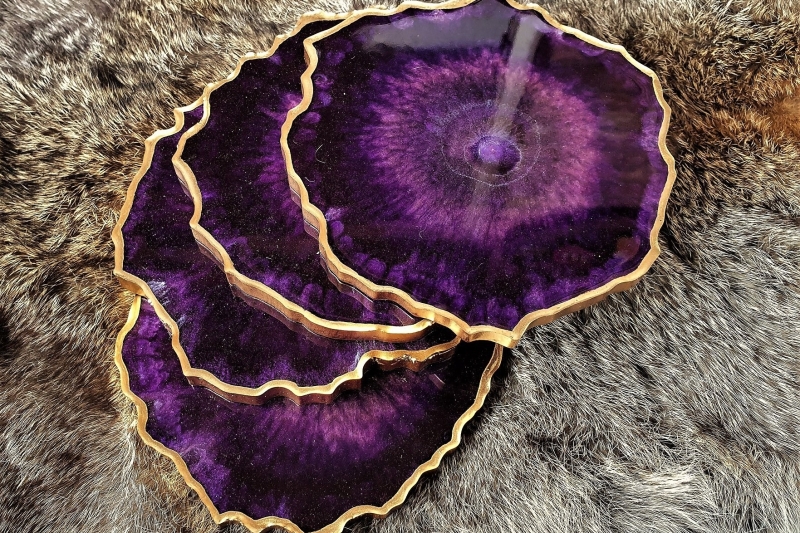
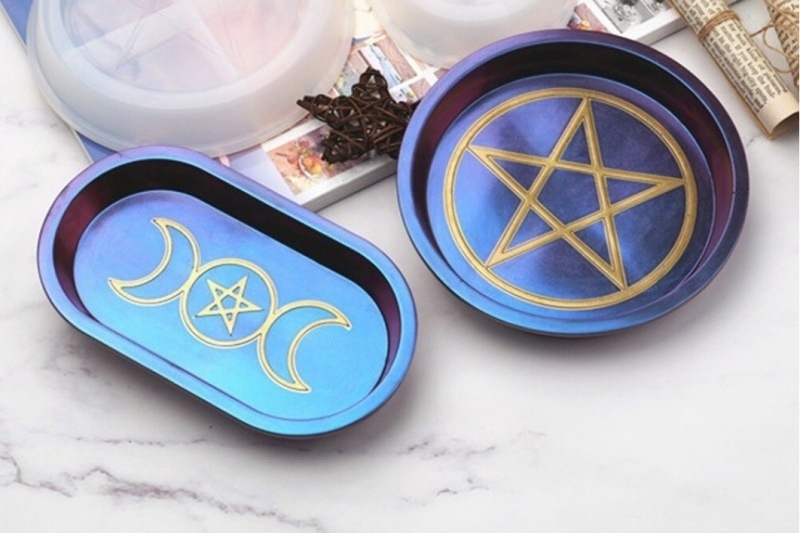
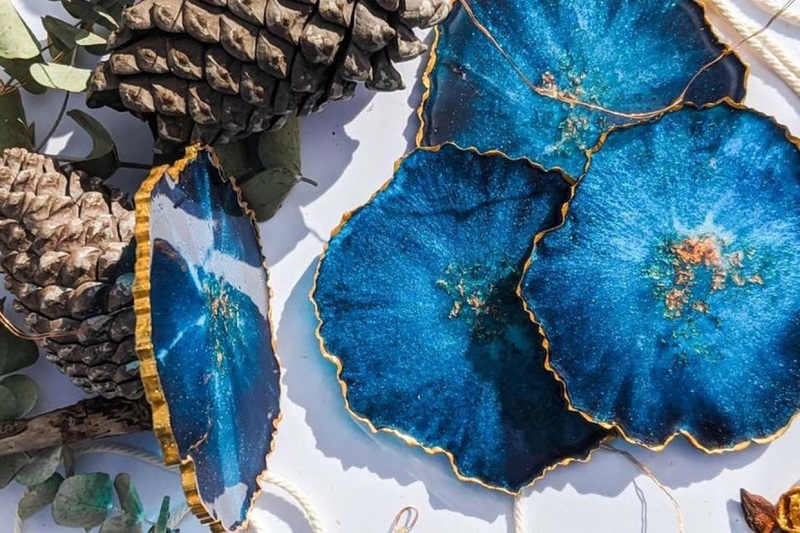
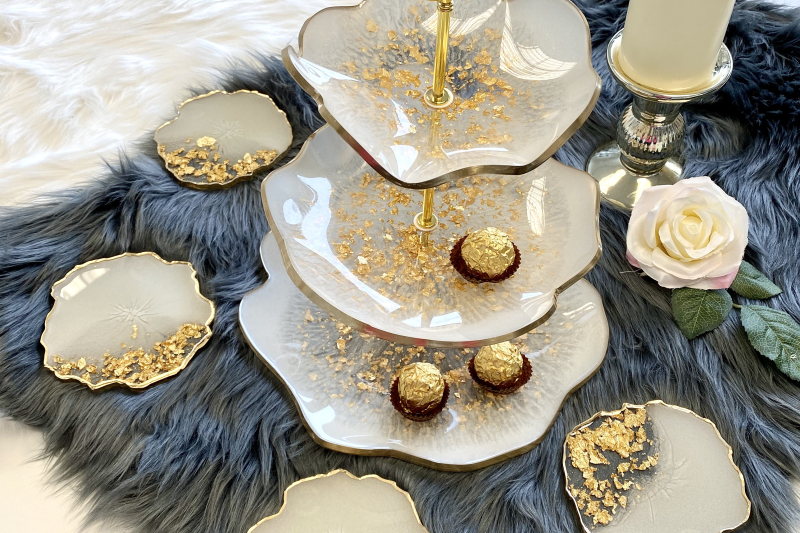
Silicone coaster molds
-
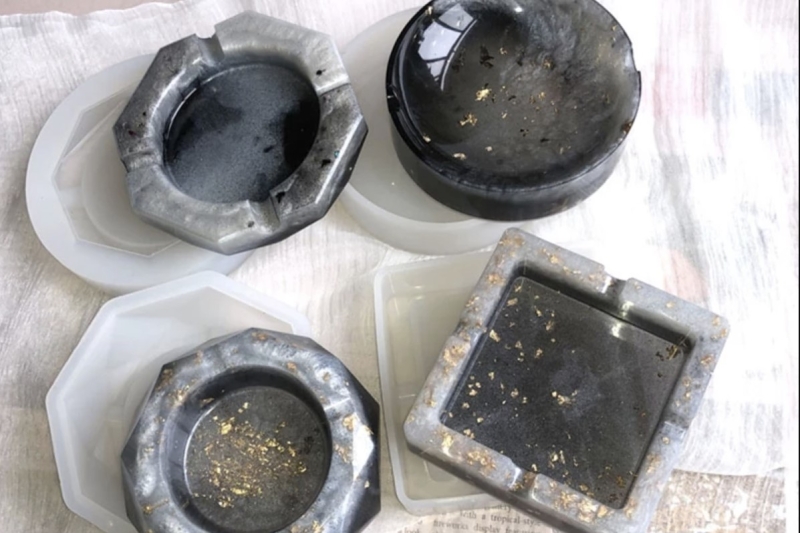
Silicone molds for ashtrays
-
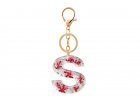
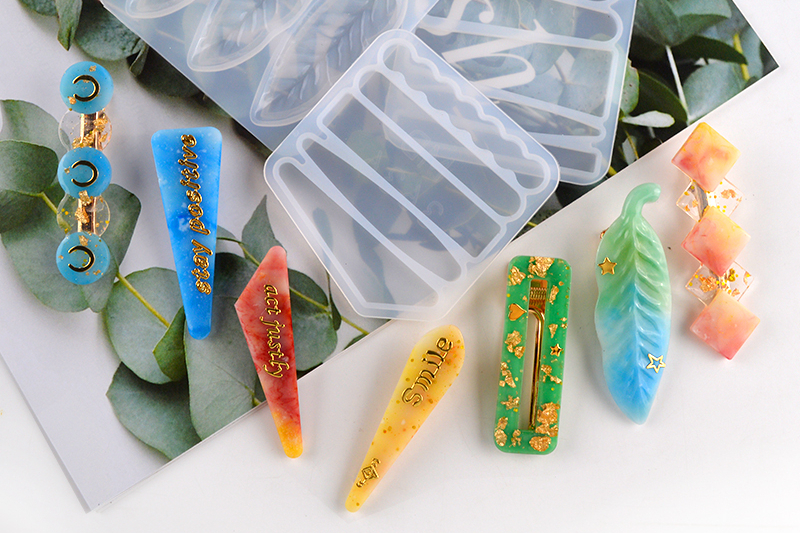
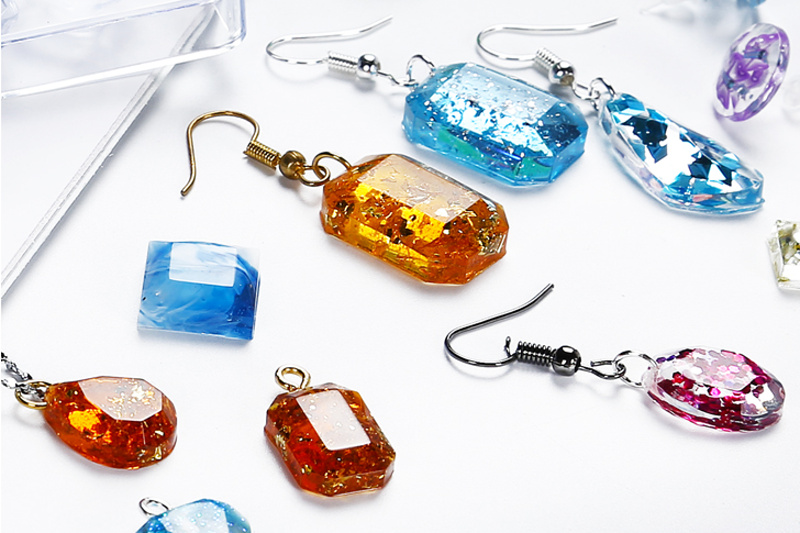
Silicone Mould for Keychains
-
Silicone molds robust
-
Silicone mold sets
-
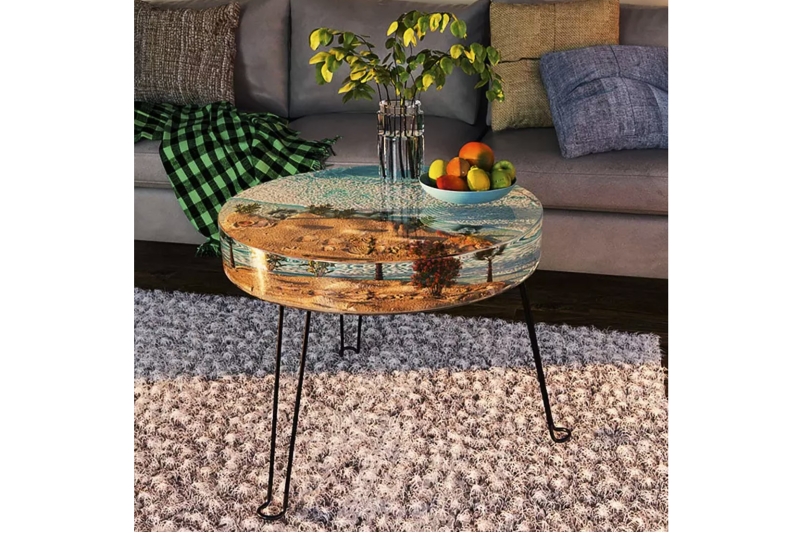
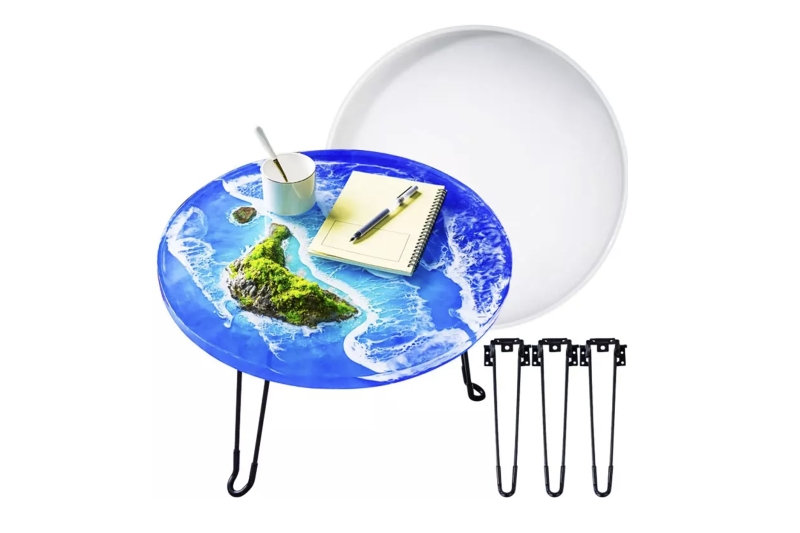
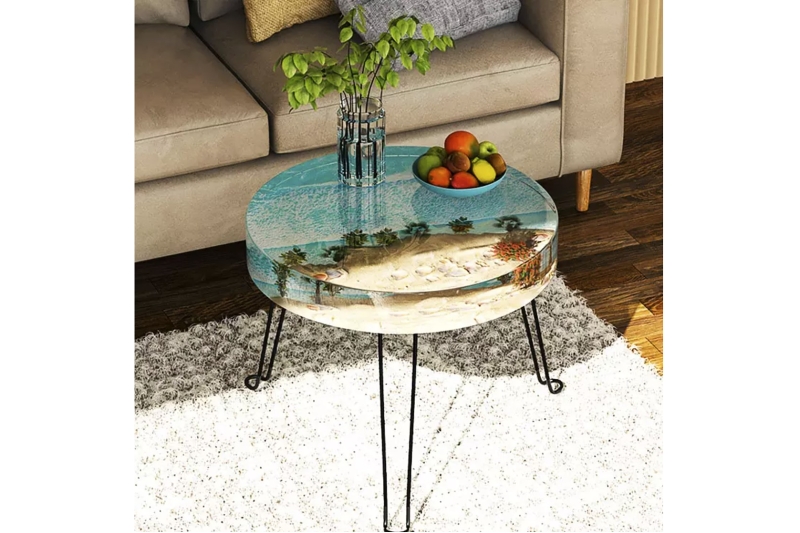
Silicone molds for tables
-
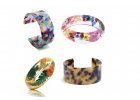
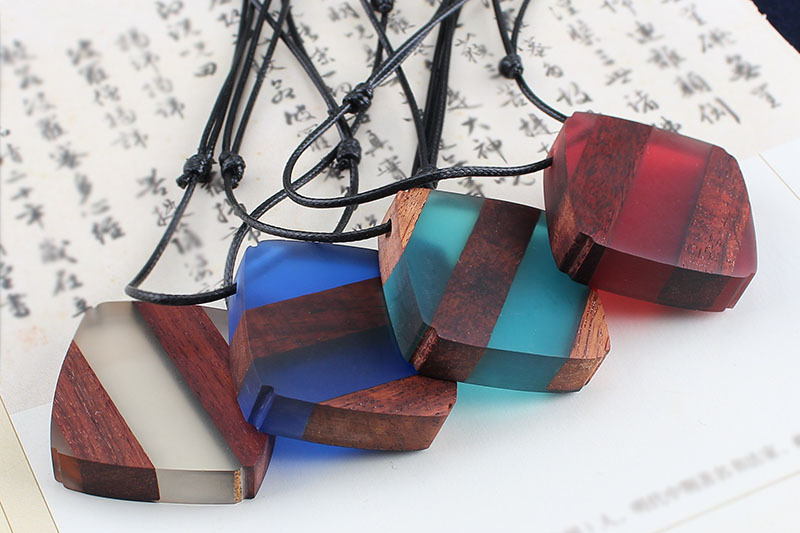
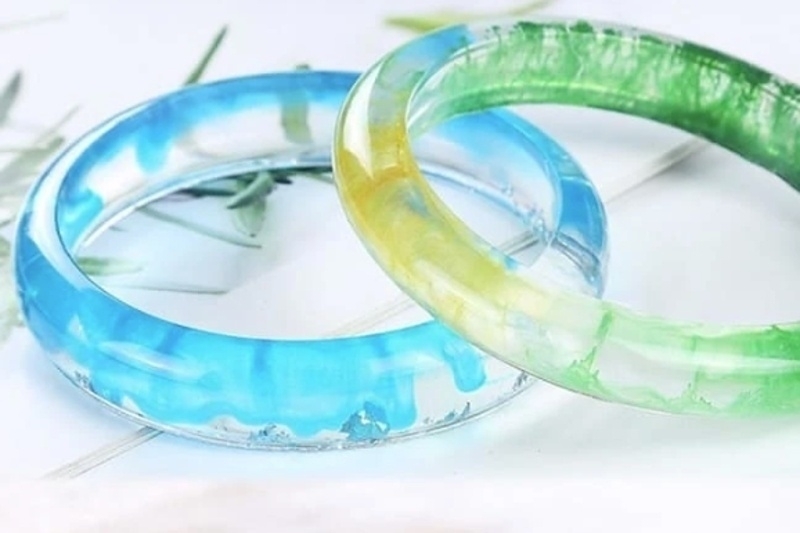
Silicone jewelry molds
-
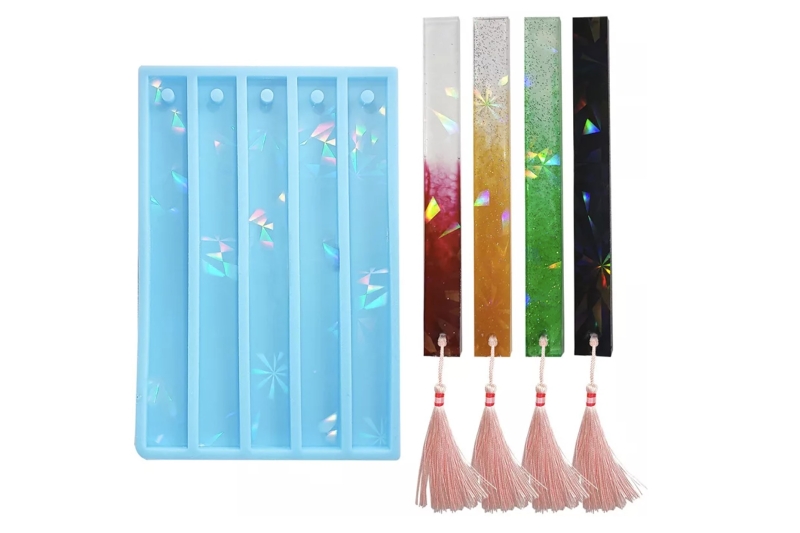
Silicone bookmark molds


Product sorting
List of products

Silicone Coaster Mould Stone – 173x96 mm, elegant for interior decorations.

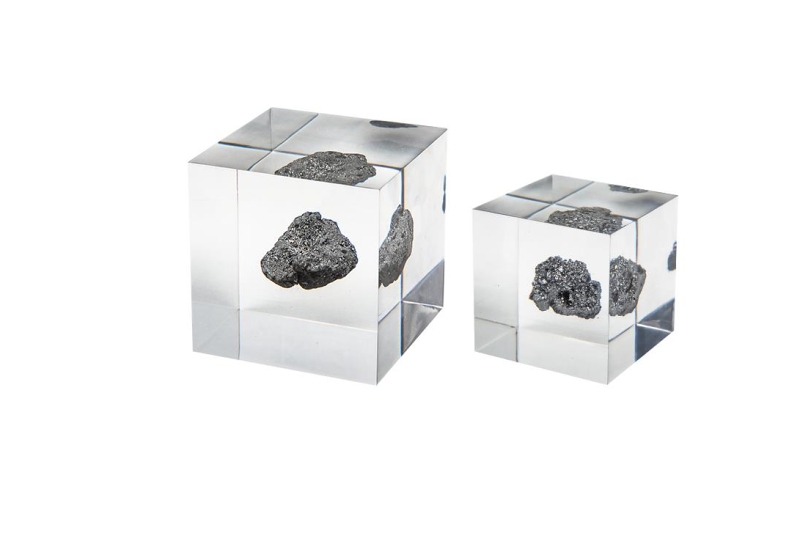
Cube Mould 55 mm – larger shape for casting block elements.

Coaster with storage box – a practical mould for resin projects.

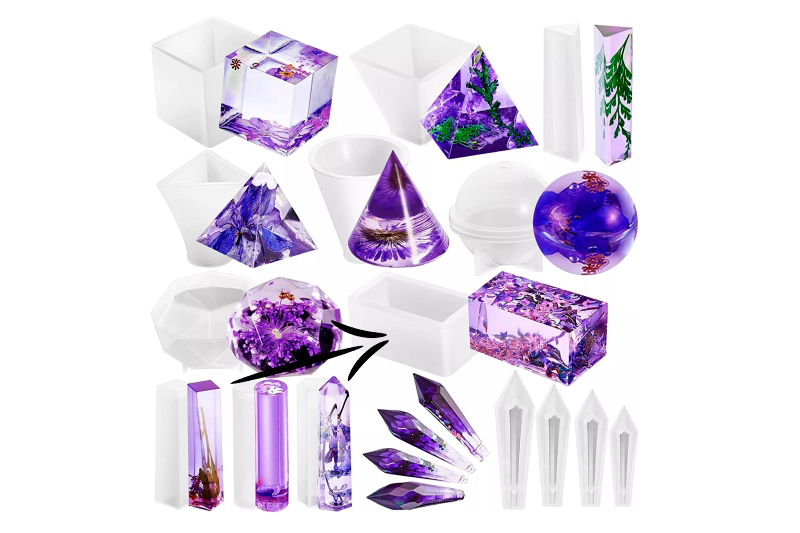
A mould with 12 different shapes – ideal for making resin jewellery.

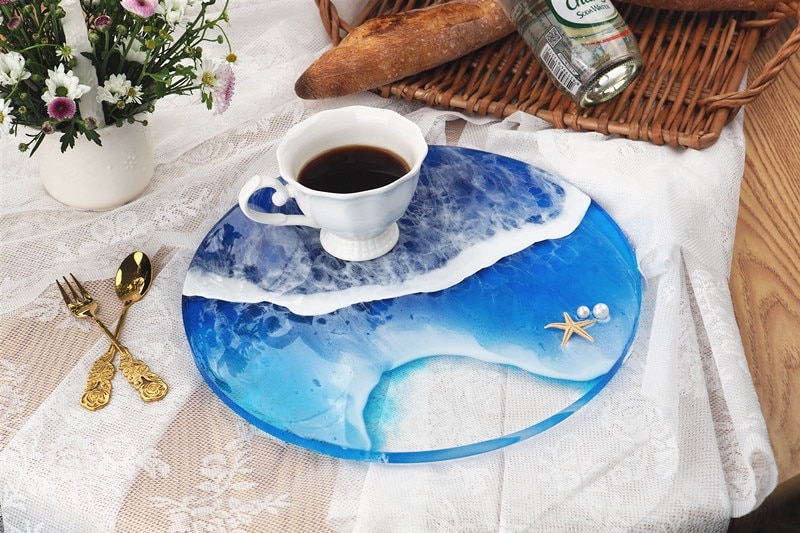
Large circular tray mould – ideal for creating large resin decorations.

Triangle – a stylish shape for jewellery or decorative pieces.

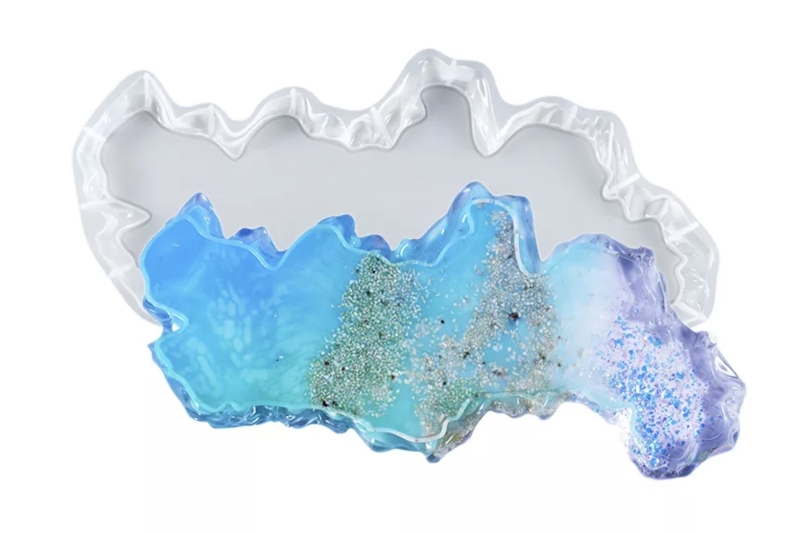
Multi-Shape Coaster – a versatile mould for various resin castings.

Summer 02 Coaster Mould – 102×102 mm, a fresh decoration for epoxy resin.

Large Round Tray Mould – 344 mm, spacious design for tables and trays.

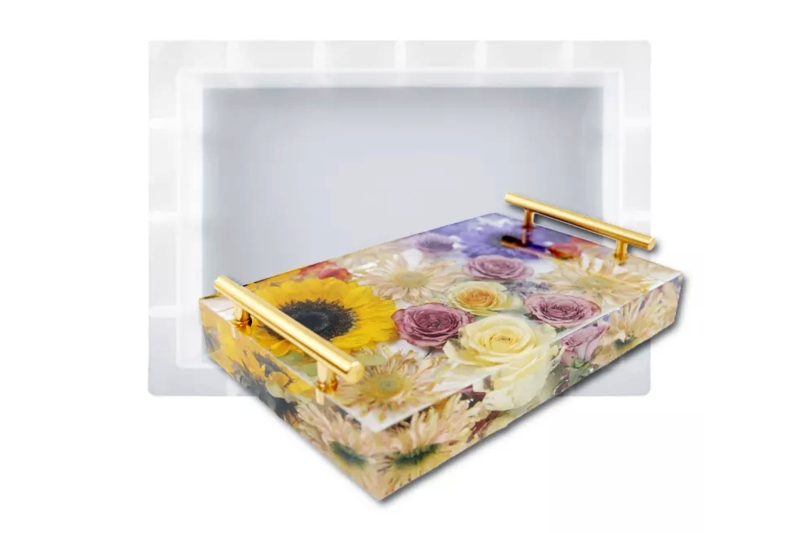
Large rectangular tray – a mould for creating spacious resin trays.

Silicone Letter Mould Small – 96x101 mm, delicate letters for casting.

Round coaster – a simple and versatile shape suitable for any resin projects.


Dinosaur mould – an original shape for working with resin.

Full bottom coaster mould – dimensions 100×126 mm, easy casting.

Coaster mould with centre – modern design and practical shape.


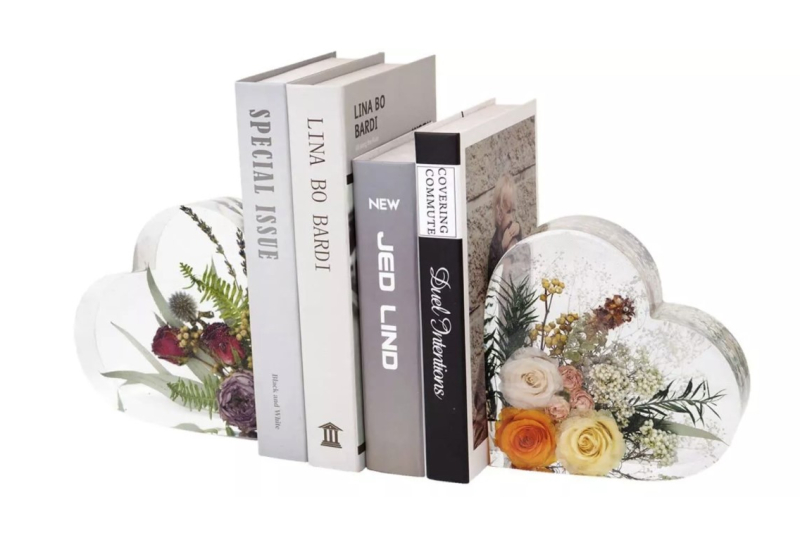
Bookmark shape – ideal for creatively marking pages in a book you're reading.

142 mm Triangle – a larger shape for interesting resin compositions.

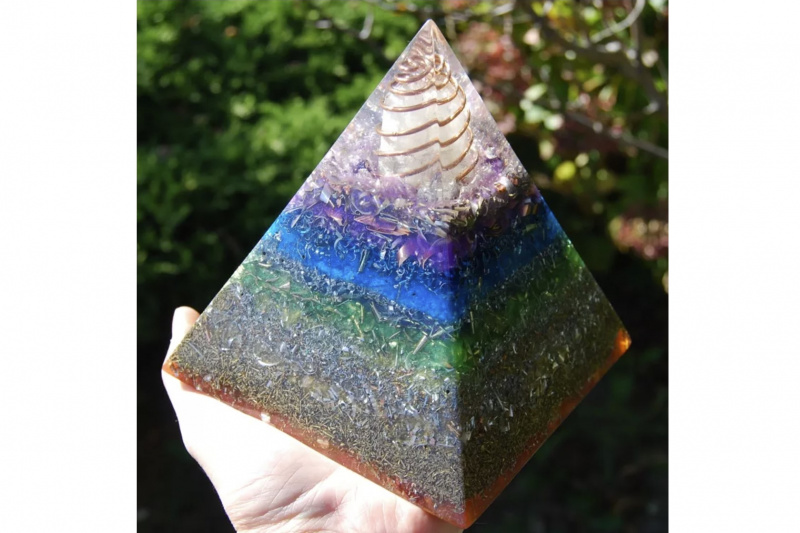
Silicone Pyramid Mould 20 mm – a basic mould for resin jewellery.

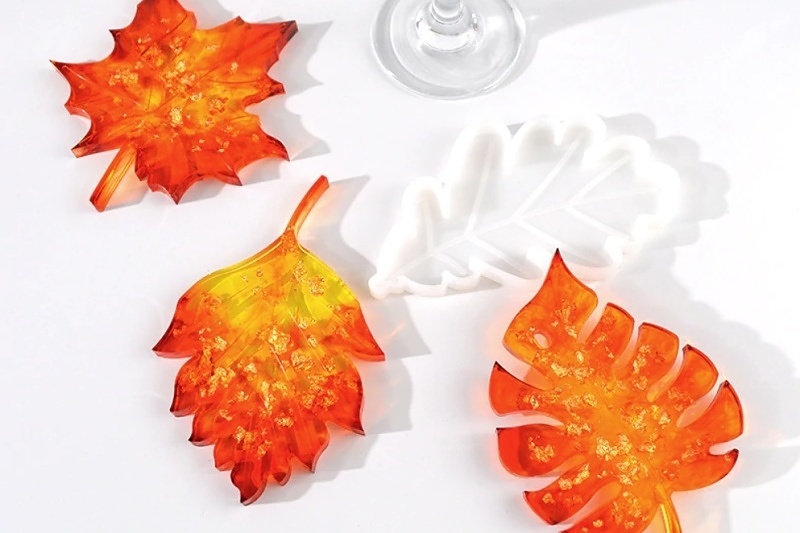
Detailed mould with a tree of life pattern, suitable for coasters.
How to Choose Silicone Resin Moulds (Epoxy)
Silicone moulds are key to achieving clean, glossy, and precise resin castings. When selecting, consider the shape, depth, and mould surface (gloss vs. matte), as well as the project type and recommended resin viscosity / speed. Glossy moulds provide a high-gloss finish without additional polishing, while slightly matte ones are suitable for a 'marble' or soft-touch effect.
Based on what you want to create
- Jewellery, pendants, earrings: smaller cavities, preferably thinner (thin to medium) resin for easy venting and detail.
- Coasters, trays, tiered stands: moderately deep moulds; mixtures that level well and do not form waves.
- Figures and 3D decorations: intricate moulds, slower systems with longer open times are suitable.
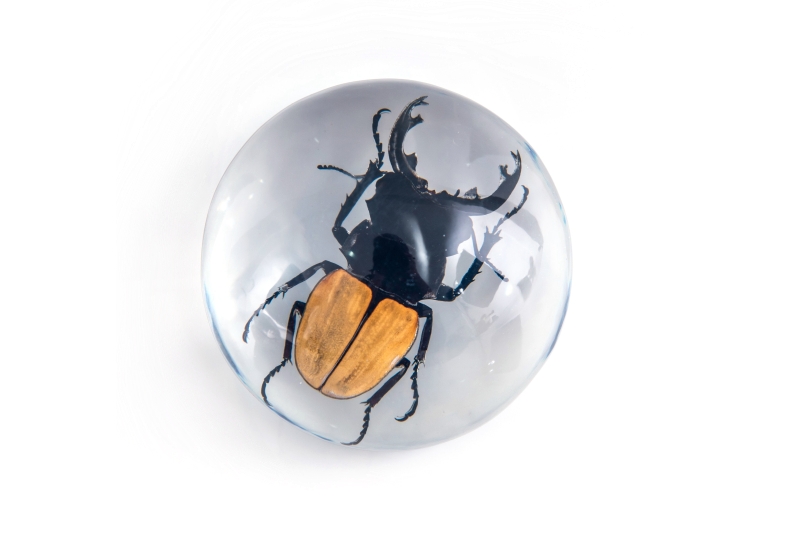
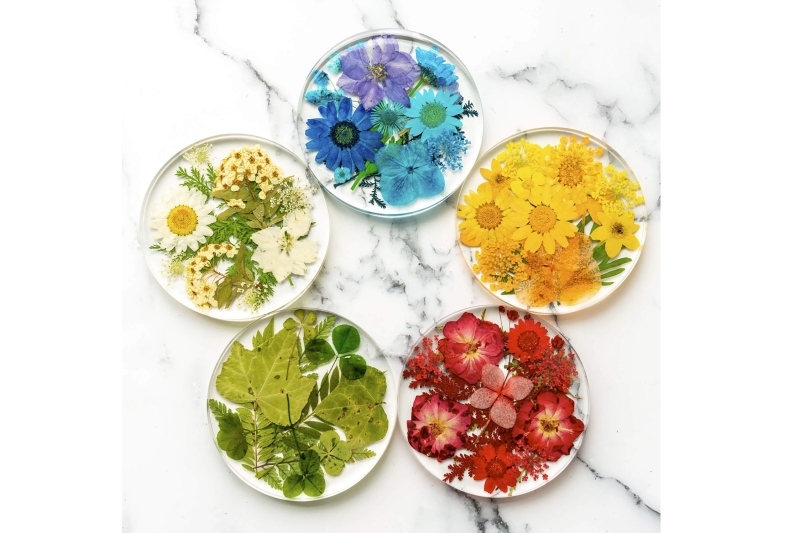
- Embedding flowers/insects: deeper moulds, clarity and calm curing are important; poured in stages.
- Bracelets/rings: closed shapes, pay attention to precise ratios and smooth pouring in a thin stream.
Recommendations: moulds × resin
| Project | Mould type | What to watch out for | Recommended resin |
|---|---|---|---|
| Jewellery (beds, small moulds) | Glossy cavities, sharp edges | Air release, bubbles in corners | Jewelry resin |
| Coasters, trays | Medium depth, solid edges | Self-levelling, flat table | Resin for decorations |
| Figures / 3D castings | More intricate shapes, thicker walls | Longer open time, layered casting | Resin for decorations |
| Potting flowers / insects | Deeper moulds, transparent appearance | Flower drying, staged casting | Resin for decorations |
| Surface coating (topcoat) | Flat base, cover frame | Dust-resistant coating, levelling | Resin for surfaces |
Silicone mould care: how to extend its life
- Cleaning: wipe with a soft cloth after casting. Allow resin residue to harden and gently 'peel' off - do not pull with nails or sharp objects.
- Storage: flat, unfolded, away from direct sunlight and heat. Do not place heavy objects on the moulds.
- Temperature: keep to the recommended range of the mould and resin manufacturer; extreme heat shortens life and can deform.
- Release: for complex shapes, a release agent for silicone/epoxy will help (saving edges and detail).
- Dyes and powders: apply pigments, alcohol inks and metallic powders sparingly; excess can leave marks and shorten the life of the mould.
Common Mistakes and How to Avoid Them
- Bubbles in the corners: Before the main pour, wipe the corners of the mould with a thin layer of resin (brush/spatula), then pour slowly and thinly.
- Cloudiness or overheating: For larger volumes, pour in layers and observe pauses according to the mixture's recommendations.
- Dull mould imprint: A dull mould = a dull cast. For a glossy finish, use a glossy mould, or polish afterwards.
- Cast sticking: A separating spray will help with intricate shapes; do not overload the mould by 'breaking' it forcefully.
- Scratched mould: Do not use abrasive cleaners or sharp tools; a scratch is immediately visible on the cast.
What to combine the moulds with
FAQ – Frequently Asked Questions about Silicone Moulds
Are these moulds also suitable for UV resin?
Yes, most silicone moulds are compatible with both two-component epoxy resin and UV resin. For deeper moulds, pay attention to the transmission of UV light – a thinner layer cures better.
How do I know if a mould will give a glossy surface?
The mould cavity itself must be optically smooth and glossy. The cavity looks, the cast will look – the gloss 'transfers'.
What if I want to cast a larger volume (e.g. a thicker coaster)?
Choose a slower mix with a longer open time and pour in layers. You minimise heat (exothermy) and the risk of clouding or sink marks.
Can moulds be repaired if they get scratched?
Light hairline scratches can sometimes be 'polished' with a soft cloth and a suitable product, but deep scratches will usually remain visible. Prevention is gentle cleaning and storage.
How do I prevent rings and unevenness on the surface?
Work on a perfectly level and clean surface, do not pour in a stream from a height, maintain a stable temperature (approx. 22–24 °C) and cover against dust after casting.
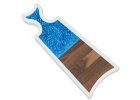
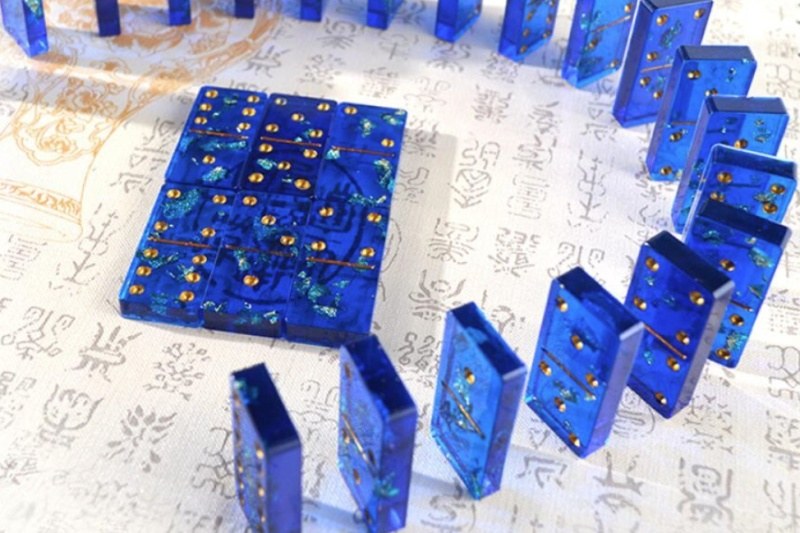
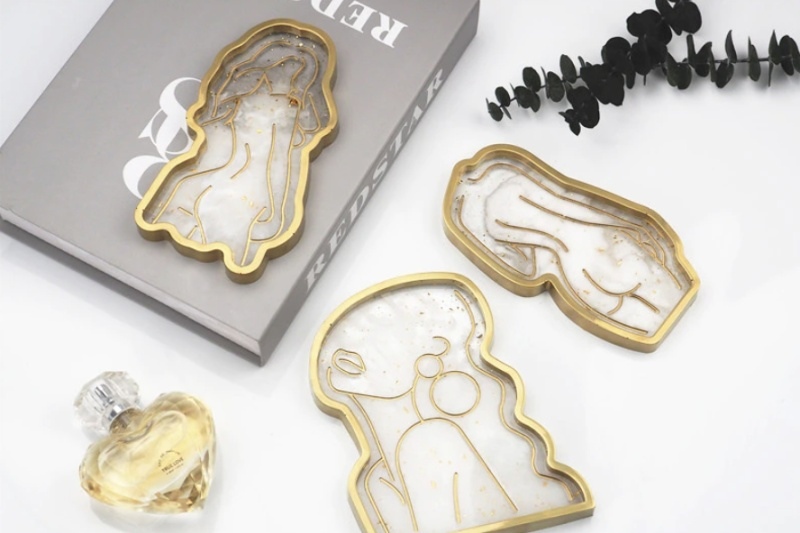
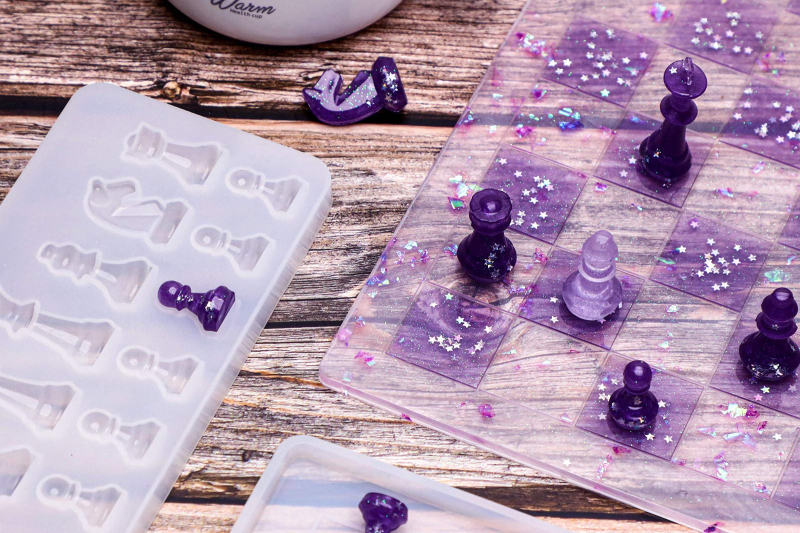
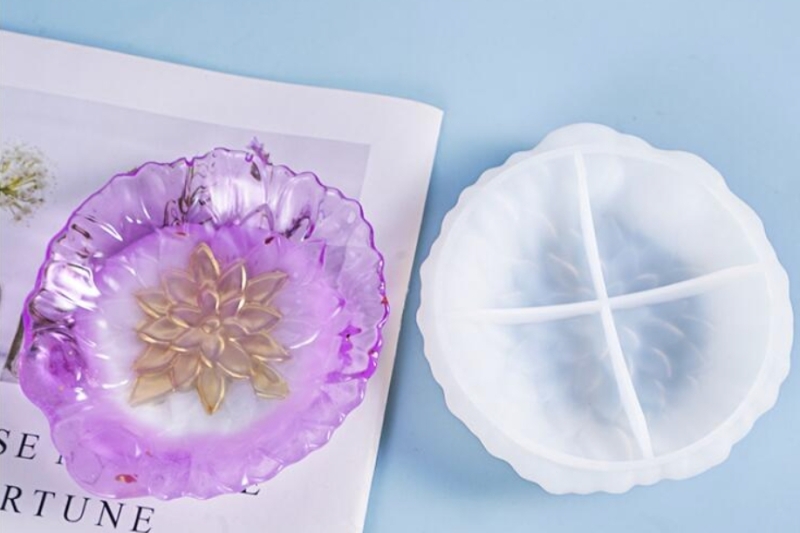
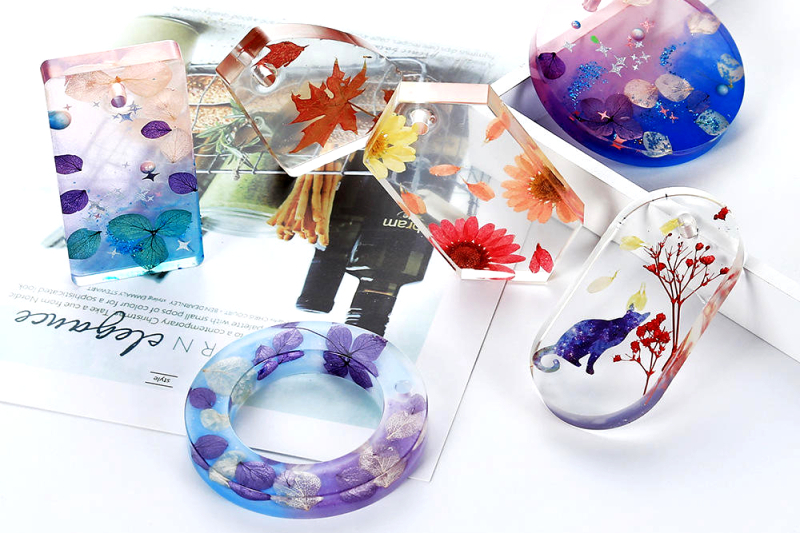
Silicone Resin Moulds Gallery
.jpg)
.jpg)
.jpg)
.jpg)
.jpg)
.jpg)
.jpg)
.jpg)
.jpg)
.jpg)
.jpg)
.jpg)

.jpg)
.jpg)
.jpg)
.jpg)
.JPG)
.jpg)
.jpg)
.jpg)
.jpg)
.jpg)